


Spooky Circuit Box


Below, I have added precise dimensions that work well for constructing a box, as well as a couple of aesthetic improvements that also improve the overall functionality of the original design.
You will need the following tools and materials:
Useful Tools & Supplies:
bone folder
piercing tool
1 LED light
11-12 inches of adhesive copper tape
painter's tape
1 3V coin cell battery
rubber stamps and ink or other art supplies
card stock
ruler
scissors
pen or pencil
Directions:
Box Top
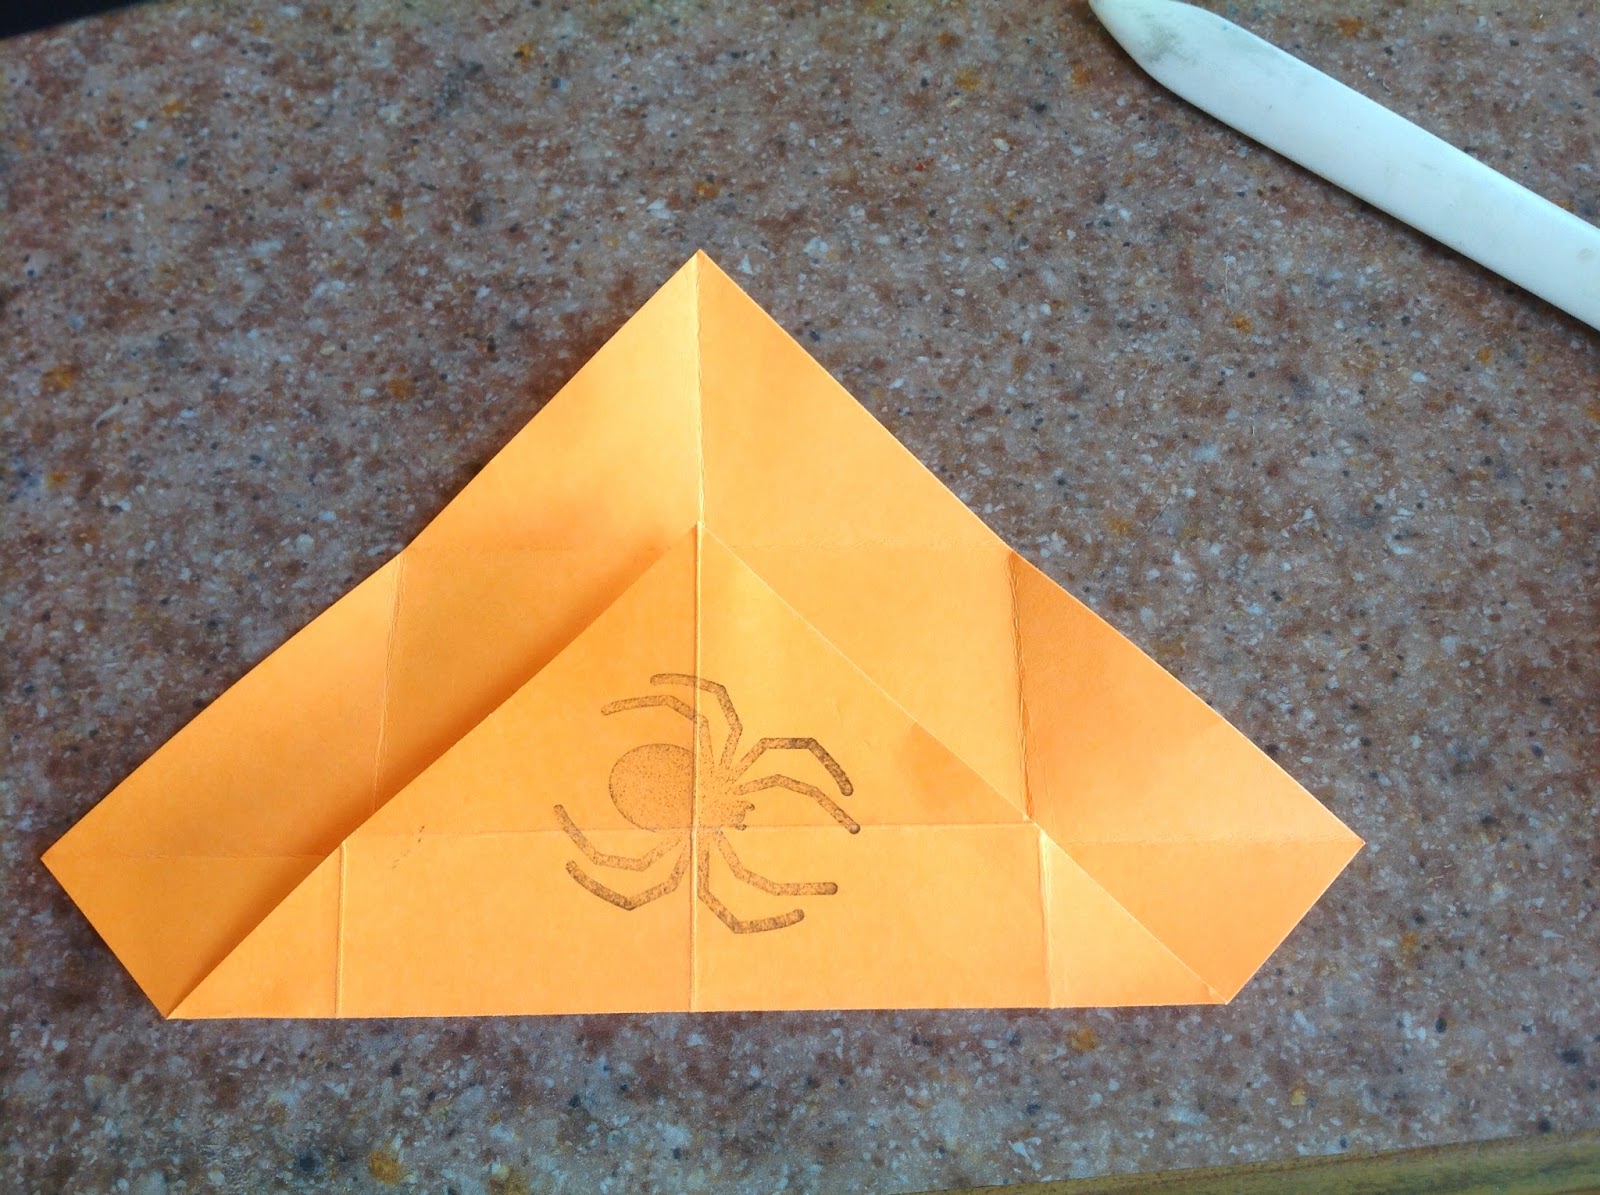
1. Prepare a 5 7/16" X 5 7/16" piece of orange card stock by decorating it with a rubber stamp or original artwork. (Rounding up to 5 1/2" made the box a bit looser than I liked). Keep in mind that the LED will be going through the center of the paper after it's folded. (If you want a bigger box, use an 8 1/2" X 8 1/2" piece of paper)


4. Fold each corner to the newest points of intersection. Crease. Open.


5. Turn the paper over and fold each of the four corners to the nearest point of intersection. Crease. Open.

***(SKIP THIS STEP WHEN YOU ARE MAKING THE BOX BOTTOM)***
6. Unfold the paper to expose the unadorned side. Use a pencil and a ruler to draw a line parallel to each edge of the box that divides the 3 outermost squares along each edge in half along the diagonals of the squares. Cut along these lines.


 7. Fold each new corner to the midpoint of the square and open, making 4 new fold lines. Unfold.
8. Fold two opposite corners to the midpoint.
9. Position the walls upright. The walls of the lid will be half the depth of those of the bottom lid.
10. Fold in the remaining two corners, pushing in the diagonal folds at each corner as you position the wall and the triangles at the bottom of the box.
Box Bottom
1. To make the bottom of the box, fold a piece of 5" X 5" card stock and follow the steps for making a Box Top. (or if making a bigger box, use an 8 1/4" X 8 1/4" of paper). Be sure to skip Step 6!
Adding the LED

 1. Use a piercing tool to punch a hole through the center of the lid.
2. Insert the legs of the LED through the top side of the box top.
***IMPORTANT***
Do your best to keep the copper tape straight and centered on the box (so that it matches up with the box bottom).

 3. Turn the lid upside down. Before opening the legs of the LED, apply a 2 3/4" strip of copper tape (longer if making the bigger box) to the box top under each leg of the LED. Some of the copper tape will wrap around to the outside of the lid. Spread the legs of the LEDs.

5. If you wish to cover up the tape, insert a piece of 1 15/16" X 1 15/16" orange card stock into the lid. Mark the positive and negative sides on the insert.
If making the larger box, the insert will need to be (2 15/16" X 2 15/16")
Completing the Circuit
 1. Lay a 2 3/4" strip of copper tape down that starts at the center of the box bottom and wraps around to the outside edge of the box. This will be the negative lead. (Your tape will need to be longer if you are making the bigger box.)
***IMPORTANT***
Do your best to keep the copper tape straight and centered on the box (so that it matches up with the box top).

2. To create the positive lead, place your battery negative side down on top of the negative lead and then lay a 2 3/4" strip of copper tape over the positive side of battery. At the end of the tape that will be in contact with the positive side of the battery, fold 2-4 mm of the copper tape onto itself to make it more conductive. Press the copper tape down firmly and continue around the top edge of the box.

3. With your battery negative side down, under the positive lead, fasten it with tape. Mark the positive and negative leads.
Test the Circuit
1. Put the box together, being careful to match the positive leg of the LED with the positive lead connected to the battery. You will need to gently squeeze the sides of your box in order to ignite the circuit. If it doesn't work, check to ensure that your polarity is correct.

Box Divider
If the circuit is working properly, and you want to cover up the battery, use the 3 1/4" X 3 1/4" piece of orange card stock to create a divider.


